As a designer, being able to effectively communicate your ideas is crucial. Whether it’s sharing your creative vision with clients or presenting concepts to internal stakeholders—it’s essential to translate abstract ideas into something tangible.
This is where mood boards come in. A mood board can help you to organise your thoughts, define a clear creative direction for a given project, and ultimately make sure that your designs will evoke the desired emotions in your end users.
If you’re new to mood boards, look no further than this guide. We’ll show you everything you need to know about this wonderful design tool—including step by step instructions for how to create your own.
- What is a mood board?
- What are mood boards used for?
- Physical vs. digital moodboards: Which is best?
- What should you include in your mood board?
- Gathering inspiration for your mood board
- How to create a mood board: Step-by-step
- The best mood board tools and software
- The takeaway
First up: Defining the term ‘mood board’.
What is a mood board?
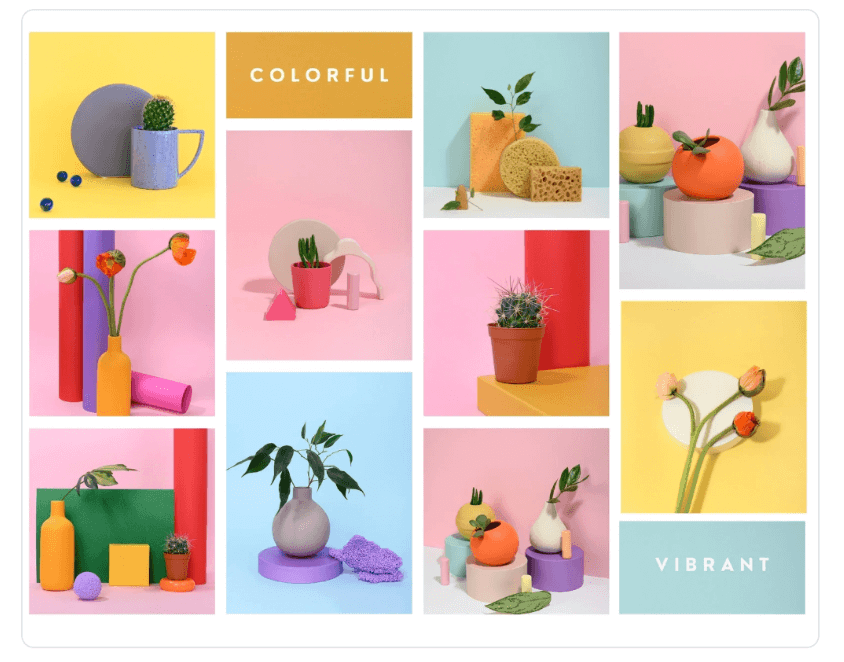
A mood board is a visual tool used to capture and communicate the creative direction a project should take. It’s a collection of different visual elements which, in combination, evoke a particular look, style, and feel.
Mood boards are typically created in the early stages of a creative project. They represent the designer’s initial ideas and concepts which will later go on to shape the look and feel of the end product.
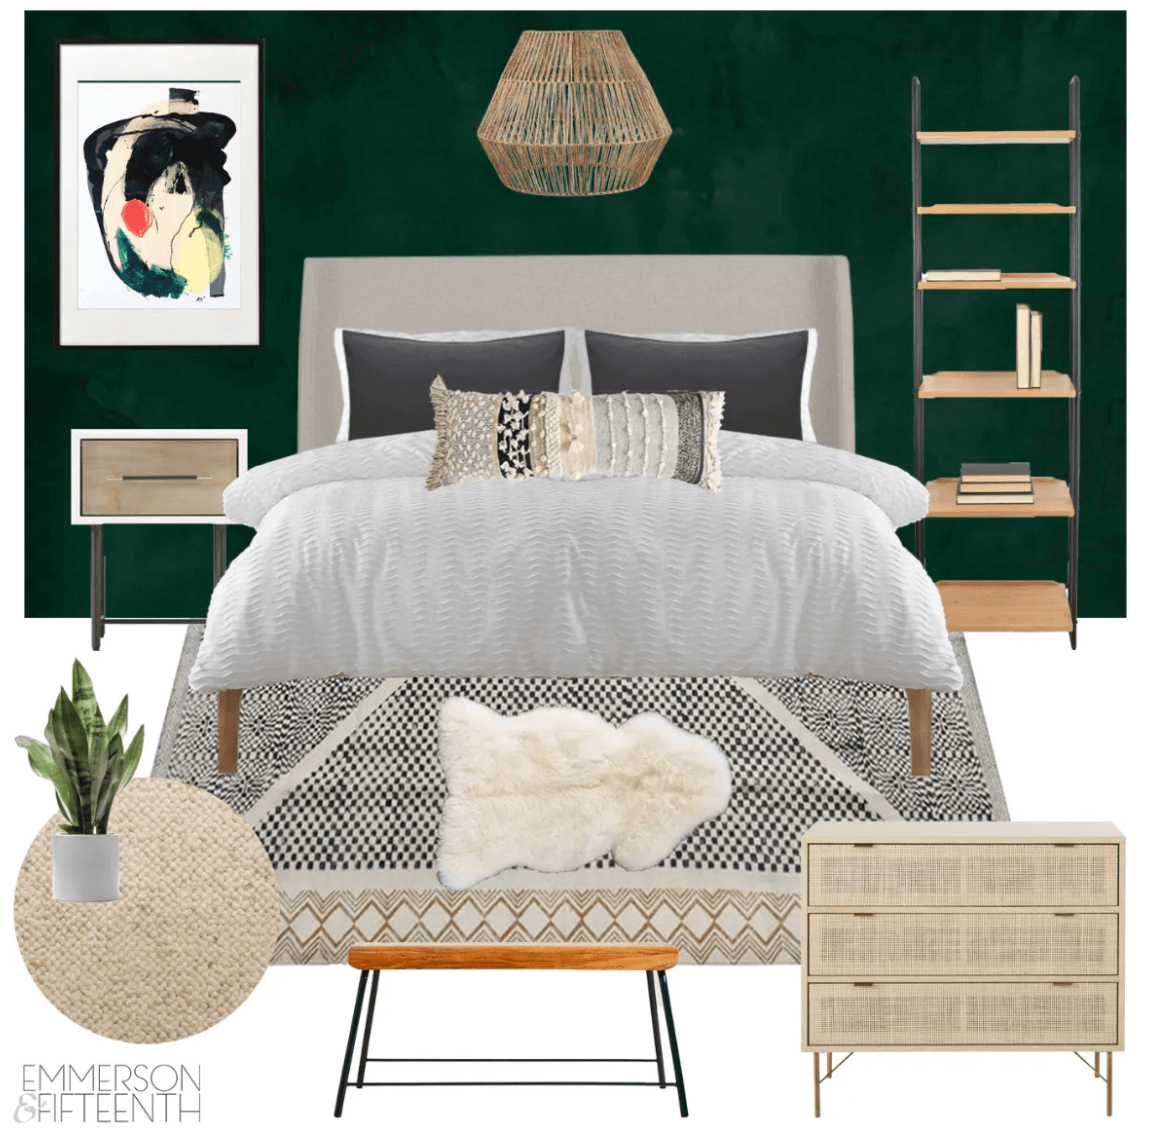
Here is an example of a mood board for an interior design project, conveying a ‘modern boho bedroom’ vibe:
Source: Emmerson & Fifteenth
What are mood boards used for?
Mood boards are used to turn unorganised or unarticulated ideas into a single, coherent vision. They help to turn abstract concepts into something visual and concrete—enabling you to share and communicate your ideas. They’re also a great tool for organising your design research and inspiration.
As a designer, you might create a mood board to:
- Organise your own thoughts and ideas and bring focus to your vision
- Document your research for a particular project
- Share your creative vision with clients or other key stakeholders, allowing you to gather feedback and make sure everybody is aligned before proceeding to wireframes and prototypes
- Use as a point of visual reference throughout a design project, continuously reminding you of the vision you are working towards
Digital designers aren’t the only ones who use mood boards. Mood boards can be used for almost any kind of project—be it interior design, planning a party or a wedding, or visualising your personal goals and aspirations.
No matter the context, mood boards are used to present a clear creative vision which depicts how the end result should look and feel.
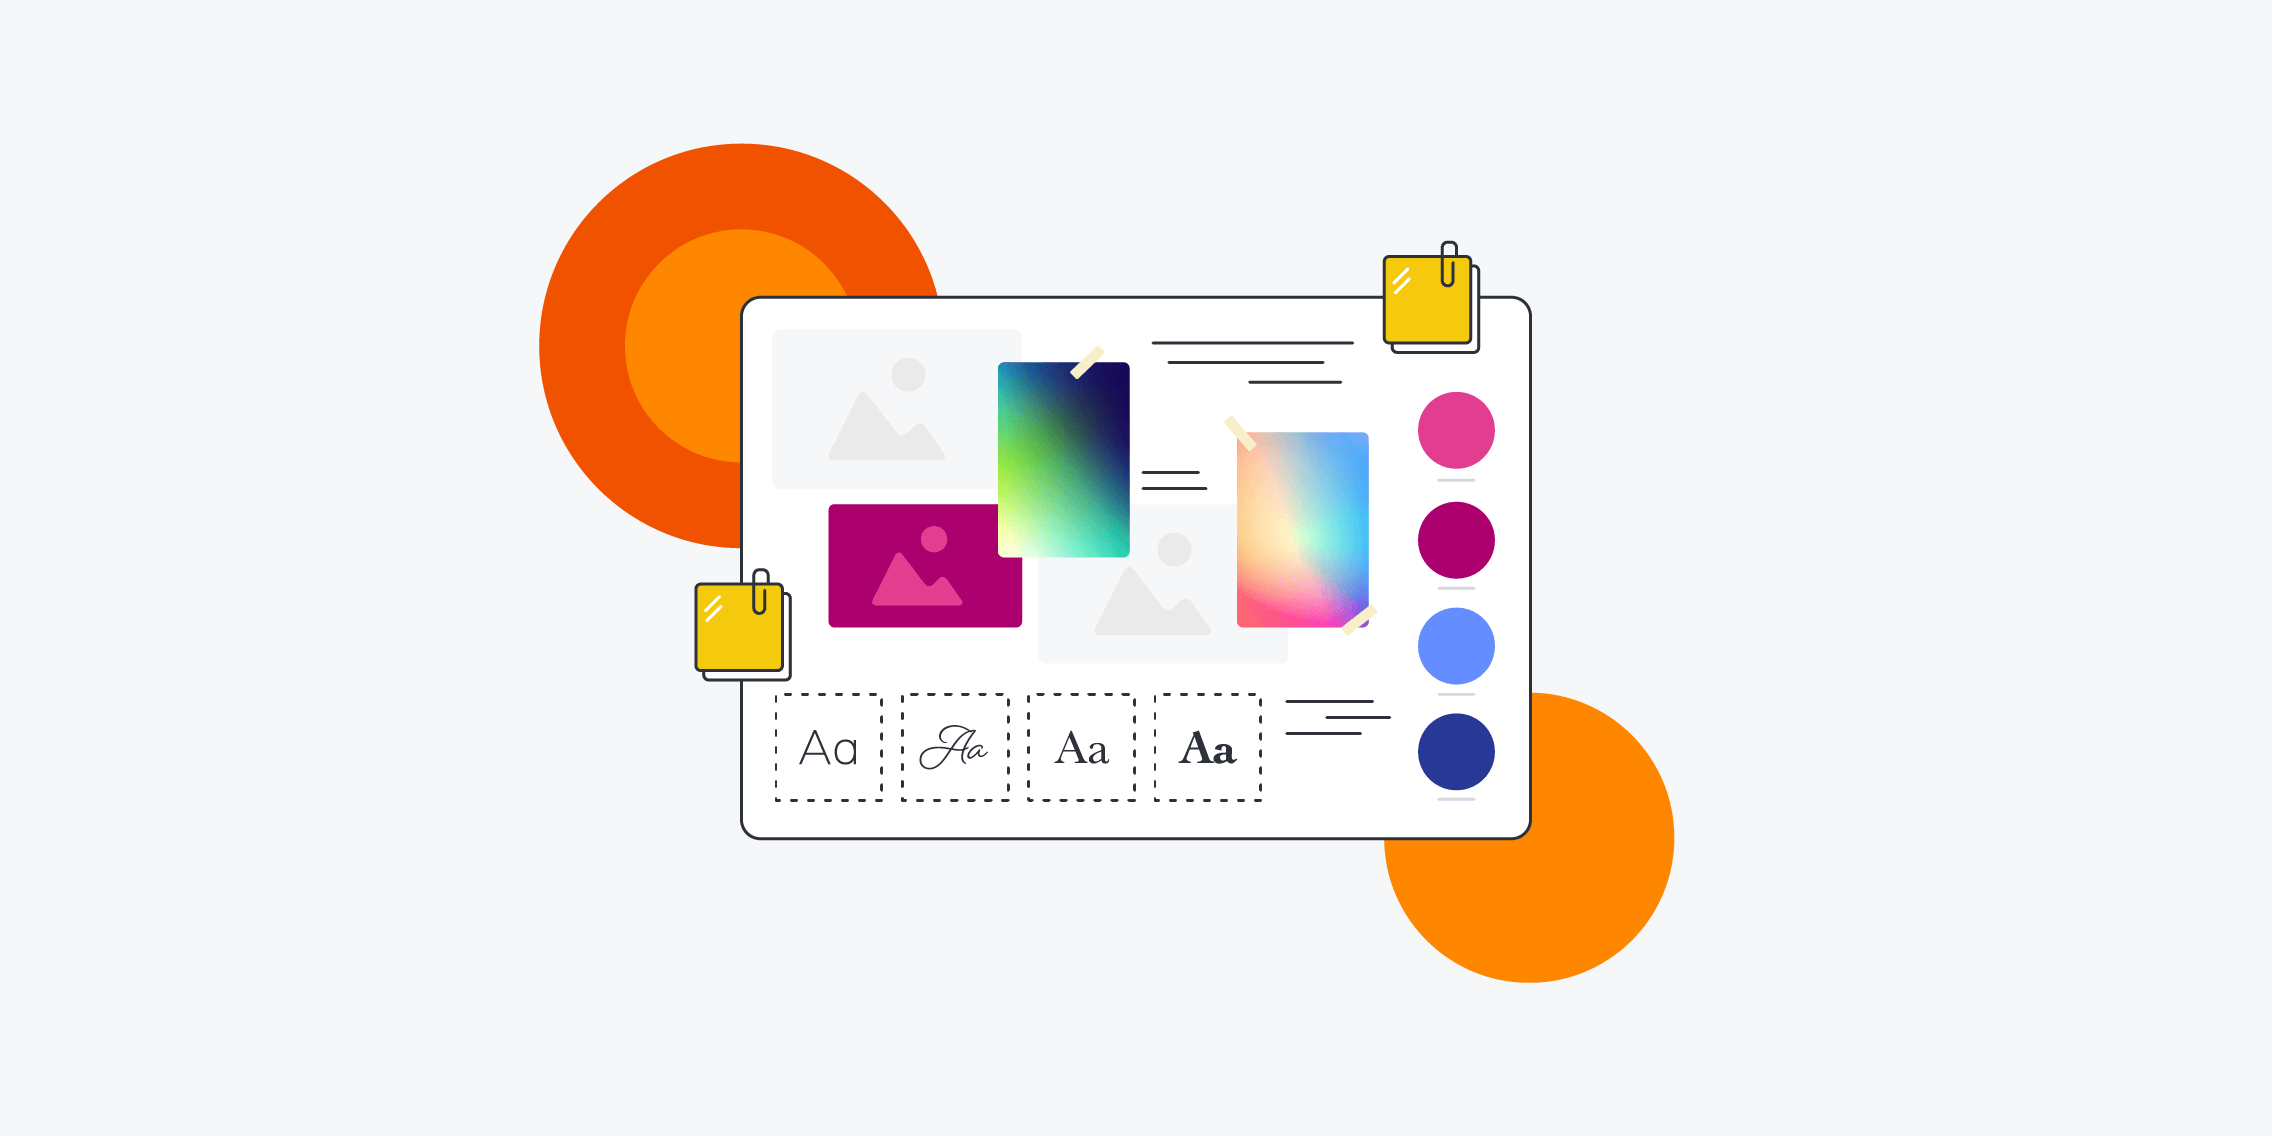
Image by coolvector on Freepik
Physical vs. digital mood boards: Which is best?
Physical mood boards are made by arranging different elements and artefacts on a physical board. They can include anything from magazine cutouts and textured fabrics to photographs and colour swatches.
Digital mood boards are created using computer software. They can incorporate (almost) any kind of digital media, including images, video, GIFs, animations, colour palettes, and fonts.
The format of your mood board will depend on the nature of your project. While physical mood boards are great for interior design projects (as they enable you to convey different textures and fabrics), digital mood boards typically make the most sense for UX and UI design projects. As you’re moodboarding for websites and apps, you’ll want to base your vision mostly on digital assets, and this will be much easier with a digital mood board.
However, don’t let this limit you when it comes to gathering inspiration for your mood board. You can easily incorporate inspiration from the physical world by taking photos or videos and uploading them to your digital board.
Another big advantage of digital mood boards is that they are better suited for sharing and collaboration. This is especially important if you’re working remotely, or with external clients.
What to include in a mood board
If you’re creating a mood board for a UX/UI design project, you can include any digital assets which help to convey your vision. Some common elements of a digital mood board include:
- Photos (this can include photos of physical artefacts)
- Illustrations
- Stock images
- GIFs and animations
- Video
- Sound
- Icons
- Typography
- Colour palettes
- Text
We’ll show you where to find inspiration for your mood board in the next section.
Gathering inspiration for your mood board
Before you start creating your mood board, you’ll want to have a pool of inspiration at the ready. Fortunately, inspiration can take many different shapes and forms, and it can be found almost anywhere.
Here are some valuable sources of mood board inspiration to help you in your search:
- Competitor products. If you’re designing an app or a website, take a look at what other brands in the same space have done. You can borrow certain elements to inspire your own designs without copying.
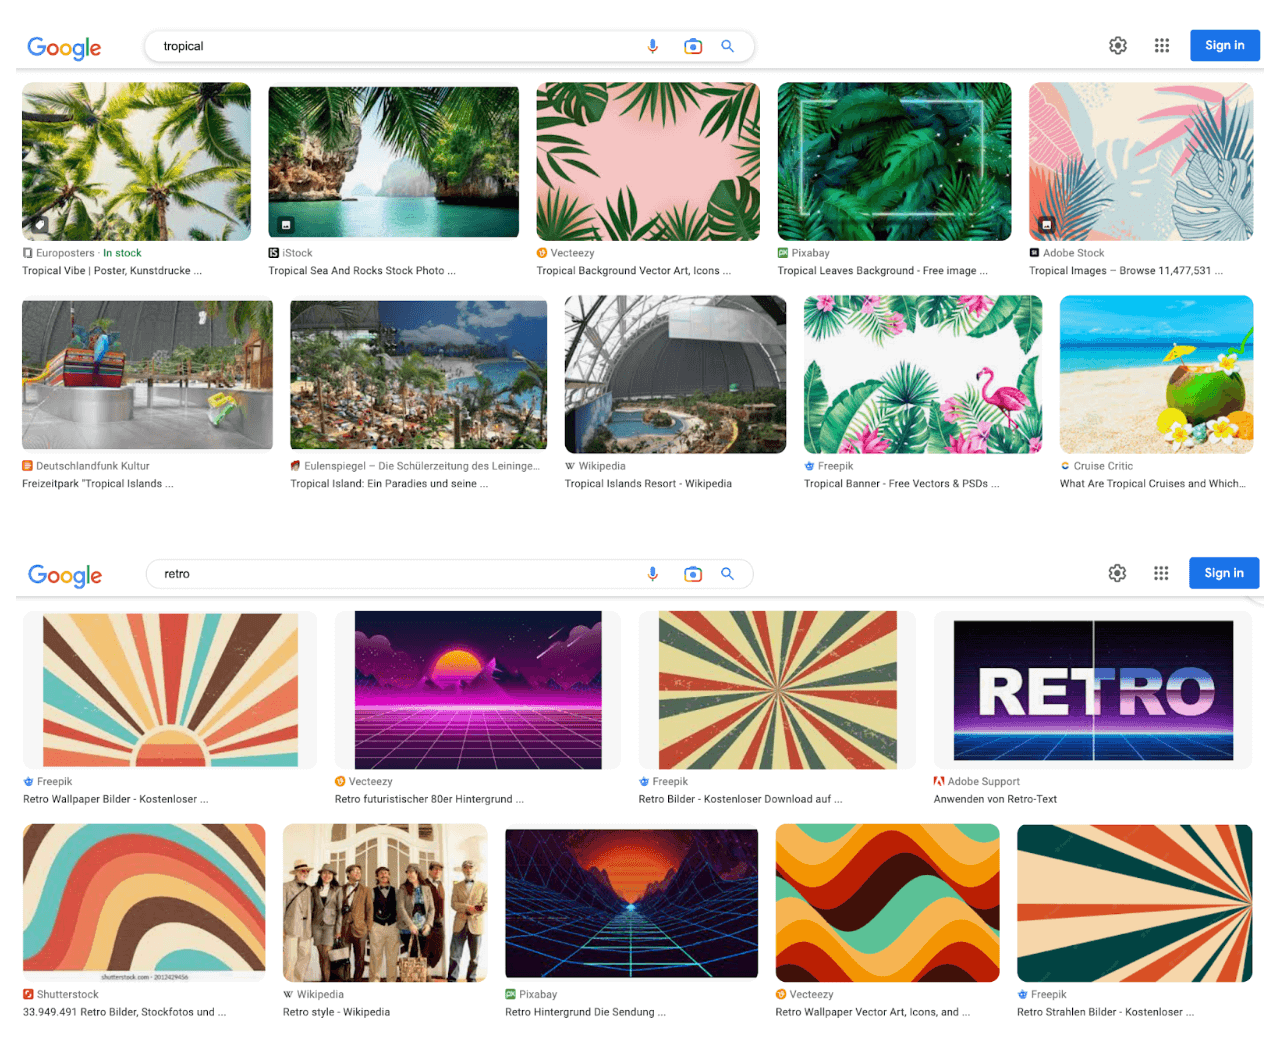
- Google images. Try typing certain keywords into the Google image search and see what comes up. For example, you might search words like “tropical” or “retro” to see what kinds of imagery and colours are typically associated with these themes.
- Magazines and other print media. Magazines can be a great source of visual inspiration, even if they’re not directly related to the product you’re designing. You might take inspiration from recipe magazines and books if you’re designing a food-related app, for example.
- Physical spaces such as department stores, showrooms, and museums. Extend your search beyond the digital realm, even if you’re designing a digital product. If you’re designing a website for a luxury cosmetics brand, you might go into a department store to browse their visual displays for inspiration. If you’re designing a science app, you might take a trip to a science museum to fuel your creative vision. Think outside the box!
- Browse social media (especially Instagram and Pinterest). Similar to Google image search, you’ll find endless mood board inspiration on sites like Instagram and Pinterest.
Wherever you go for inspiration, remember to always focus on your end goal. Keep in mind the brand, the product, your target users, and—most importantly—the emotion or mood you want to evoke.
How to create a mood board: Step-by-step
You can start creating a mood board once you’ve conducted user research, defined user personas, and have a good idea of the user problem your end product should solve.
Ready to create a mood board for your next design project? Follow these 5 steps:
- Define the mood
- Define a style
- Choose your mood board elements
- Compile your mood board
- Share your mood board and gather feedback
Let’s go through each step in more detail.
1. Define the mood for your mood board
The clue is in the name: your mood board should conjure up a certain mood when you look at it. So, the first step is to define exactly what kind of mood and emotions your mood board should evoke.
Ask yourself: How should the end user feel when they look at and interact with the product I’m designing?
This is what your mood board should capture. Brainstorm as many different emotion/mood-related descriptors as you can, then go back through and pick out three that best convey the direction your mood board should take.
Here are some examples:
- When designing a dating app, you might want your end users to feel excited, curious, and optimistic
- When designing a meditation app, you might want your end users to feel calm, comfortable, and relaxed
- When designing an e-learning platform, you might want your end users to feel confident, courageous, and enthusiastic
Browse through this comprehensive list of human emotions for inspiration.
2. Define a style for your mood board
You’ve identified the mood for your mood board. Now you want to define the style and tone that will help to evoke this mood.
Ask yourself: If my mood board were a person, how would they dress [style] and what would their personality be like [tone]?
Again, a brainstorming exercise can help here. Some words to describe style include:
- Simple
- Elegant
- Modern
- Colourful
- Minimalistic
- Vintage
- Retro
- Rustic
- Industrial
- Chic
- Smart
- Classic
- Pragmatic
- Professional
- Serious
- Dramatic
- Bold
- Ethereal
- Earthy
- Urban
- Adventurous
- Organic
Some words to describe tone include:
- Playful
- Outgoing
- Cheeky
- Authoritative
- Assertive
- Bold
- Celebratory
- Direct
- Empathetic
- Gentle
- Joyful
- Lighthearted
- Vibrant
- Whimsical
- Tranquil
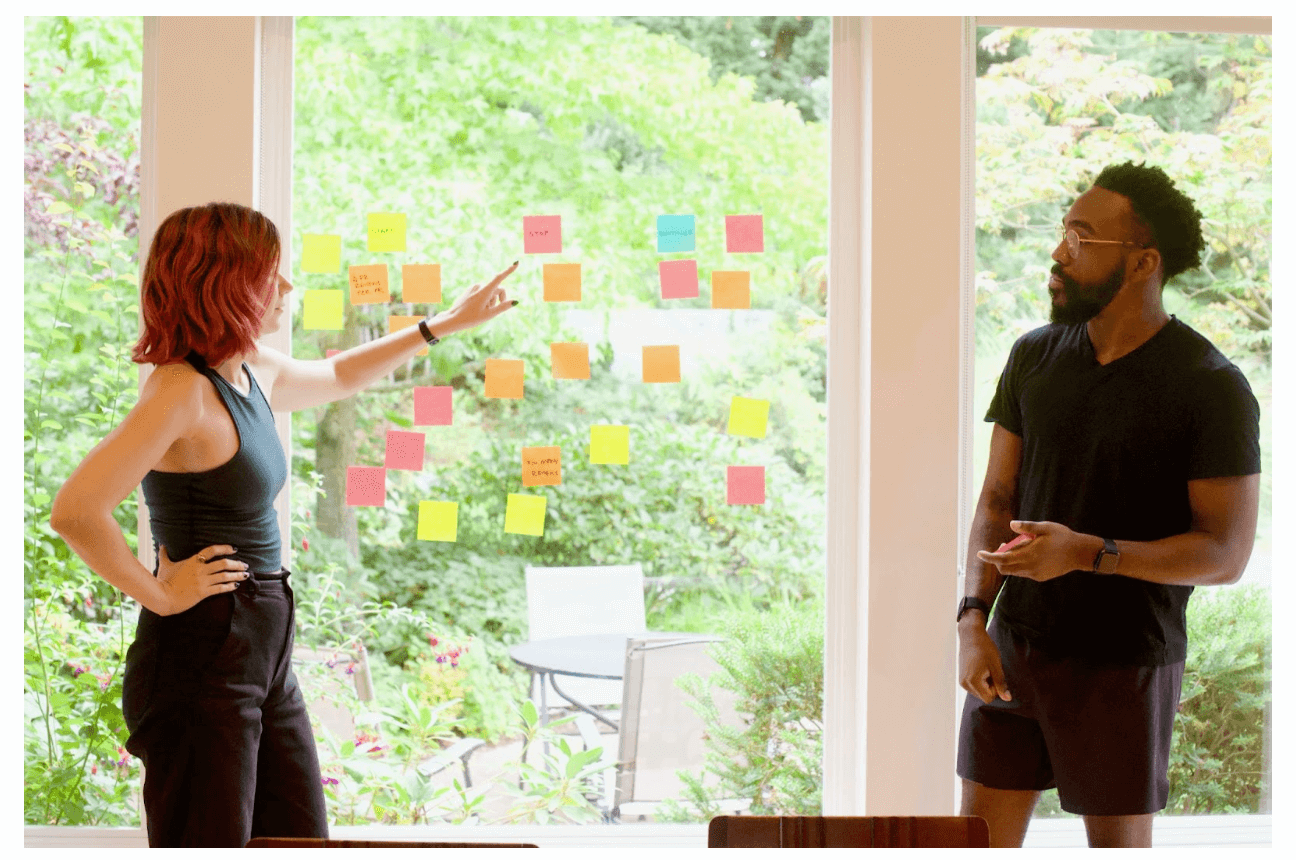
Photo by Parabol | The Agile Meeting Toolbox on Unsplash
3. Choose which elements and assets you’ll add to your mood board
With your mood, style, and tone defined, your creative vision is starting to take shape. The next step is to sift through your pool of inspiration and carefully select which elements you’ll add to your mood board.
If you’ve gathered lots of different assets, it may help to group them into categories first. For example, you could have one category for colour inspiration, another for imagery, another for typography, and so on. From there, you can pick a few elements from each category which best represent your desired mood and style.
Keep in mind that, while your moodboard doesn’t have to be perfectly uniform, you are striving for a consistent, cohesive visual narrative. All of the individual elements you choose should work together in harmony to accurately convey the right mood.
4. Create your mood board (following the rules of visual hierarchy)
You’ve chosen the elements and assets which best convey your vision. Now it’s time to bring your vision to life and actually create your mood board.
If you’re creating a digital mood board, open up your chosen tool (we list some of the best tools for creating mood boards in the next section) and either select a mood board template or start with a blank canvas.
Upload/add each of your chosen mood board elements, experimenting with different layouts and compositions as you go. When creating your mood board, follow the rules of visual hierarchy, using size and position to convey prominence or importance of certain elements. If needed, you can also include text to provide (brief) descriptions of individual elements.
5. Share your mood board with relevant stakeholders and gather feedback
Once you’re happy with your mood board, you can share it with relevant stakeholders—be it the client you’re designing for or fellow designers on your team.
Before you share it, you may want to do a round of user testing (with people who are not directly involved in the project). For example, you could share your mood board with friends or colleagues from other departments and ask them to describe how the mood board makes them feel. This will give you good insight as to whether you’ve accurately captured and conveyed the right tone with your mood board.
Based on client or stakeholder feedback, you can refine your mood board. Then, as you progress through to prototyping, use your mood board to guide you and remind you of the creative direction you should follow.
Source: Canva
The best mood board tools and software
There are plenty of tools out there to help you create a digital mood board. Among the most popular are:
- Canva, a free mood boarding tool which comes with an easy drag-and-drop editor and an expansive library of mood board templates.
- Pinterest, a much-loved online collage tool used to ‘pin’ images, GIFs, and videos onto a virtual pinboard.
- Moodboard, a free, basic tool ideal for creating simple, shareable mood boards. You can start with a blank board or pick from a (small) selection of starter boards.
- Milanote, another free tool described as “The Evernote for creatives”. You can use Milanote to organise your ideas into visual boards, write notes and to-do lists, and even as a digital whiteboard tool for collaboration.
- Miro is one of the most popular and versatile tools used by UX and UI designers, so it’ll come as no surprise that you can also use it to create mood boards. Learn more about how to create a mood board with miro here.
The takeaway
Ultimately, a mood board is an excellent tool for organising your ideas, defining a creative direction, and turning your vision into something concrete. This is essential for getting everybody aligned on how the final product should look and feel—before you embark on the more time-consuming process of creating prototypes and individual design assets.
Besides the obvious benefits, creating mood boards is a fun task. Don’t be afraid to think outside the box, experiment with different combinations, and draw inspiration from unlikely sources. Anything that helps to evoke the desired mood and communicate your concept can be included.
Want to learn more about design?
Mood boards are just one of the many tasks a designer may take on. You can learn more about a typical day in the life of a UI designer here, expand your design vocabulary with this UI design glossary of 100 terms all designers should know, or discover 9 expert tips on how to level up your craft and become a better UI designer.
New to the world of design? Learn all the fundamental theory, techniques, and tools you’ll need to succeed in the field with a professional course. Explore the UX Design Institute’s university credit-rated UI design certification, or weigh up your options with the help of this UI design course comparison guide.


![The 10 best prototyping tools for UI/UX designers [2025 Update] 9 UI UX prototyping tools header image](https://www.uxdesigninstitute.com/blog/wp-content/uploads/2025/01/93_UX_Prototyping-tools_Illustration_blog-1.png)