Creating product design sketches (UX/UI) is simple to understand. It involves sketching the foundational elements of a user interface before moving on to more advanced steps like wireframing and prototyping. While you could immediately start wireframing your solution to the problem, sketching enables you to communicate designs while allowing you to try a variety of different ideas. No idea is a bad one. The goal is to sketch your ideas clearly and efficiently, saving both time and effort.
From there you can see all the possible ways you can design your interface, and you can whittle your ideas down to the one that has the best chance of working for the project. And because you’ve gone through all those iterations, you can be sure that you’ve picked the best one.
What tools do you need for creating product design sketches?
At its most basic, product design sketching simply needs a pencil or pen and a piece of paper to get started. But if you’ll be sketching regularly and want to make your sketches stand out, you’ll have to get some other tools, including:
- A pen with a thin tip for finer details
- A pen with a regular tip for standard sketching
- Two or three markers of various greys for thicker lines
- Sticky notes for drawing the different states of things, such as buttons and pop-ups
- A ruler to draw details for more comprehensive sketches
- Blank paper without any lines
You can also use a whiteboard to sketch in a group. Start sketching with the pens provided for the board, and once you narrow your designs down, you can do a more detailed sketch with your pens and paper.
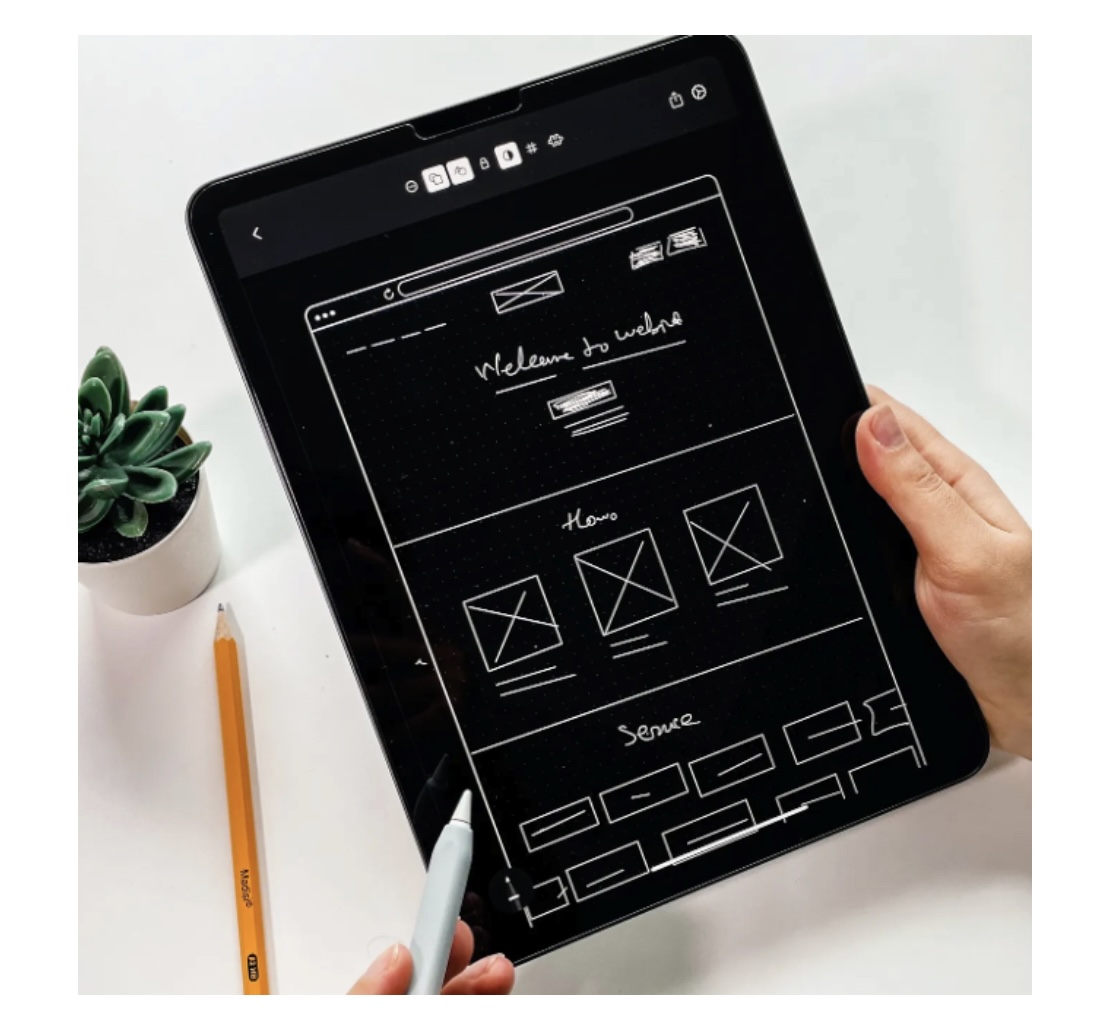
Some people prefer digital tools to do sketches. That’s not our preferred method. Digital tools can constrain you in certain ways, and therefore there are ideas you may not even try to pursue if you sketch digitally. That said, there are a variety of digital sketching tools on the market, including those in Sketch and Figma, that have most of what you need to get the job done. Use those tools in conjunction with graphic tablets and stylus pens to be able to sketch digitally.
6 tips for improving your product design sketches
The following are practical tips you can use to improve your product design sketches.
1. Practice makes perfect
You can’t get good at something if you don’t practice it. While product designers will be at varying levels of expertise with sketching, everyone can benefit from practice. When you have some downtime, practice the basic parts of your sketches, like images and navigation. Even doodling during meetings can help. The more you practice, the better you’ll get, and the more you can use sketching to convey new ideas.
2. Get rough and messy
When you sketch, it should be rough and messy, not pristine and polished. Remember, the main purpose of sketches is to help you work through the myriad solutions to the problem, but this shouldn’t take a long time. Instead, sketching should be brief and easy to iterate off of. Your sketches should unlock your creativity and allow you to modify design elements quickly. You should also be able to sketch anywhere, so bring your tools with you wherever you go, and when the mood strikes you, sketch away!
3. State the problem
You need to keep what you are doing and why you are doing it in mind. So whether it’s on a whiteboard, a separate sheet of paper, or your computer screen, before you start sketching you should first write down the problem to solve and the goal of the solution. Not only do you benefit from this but so does anyone else who comes along and wants to understand what you’re sketching.
4. Provide context
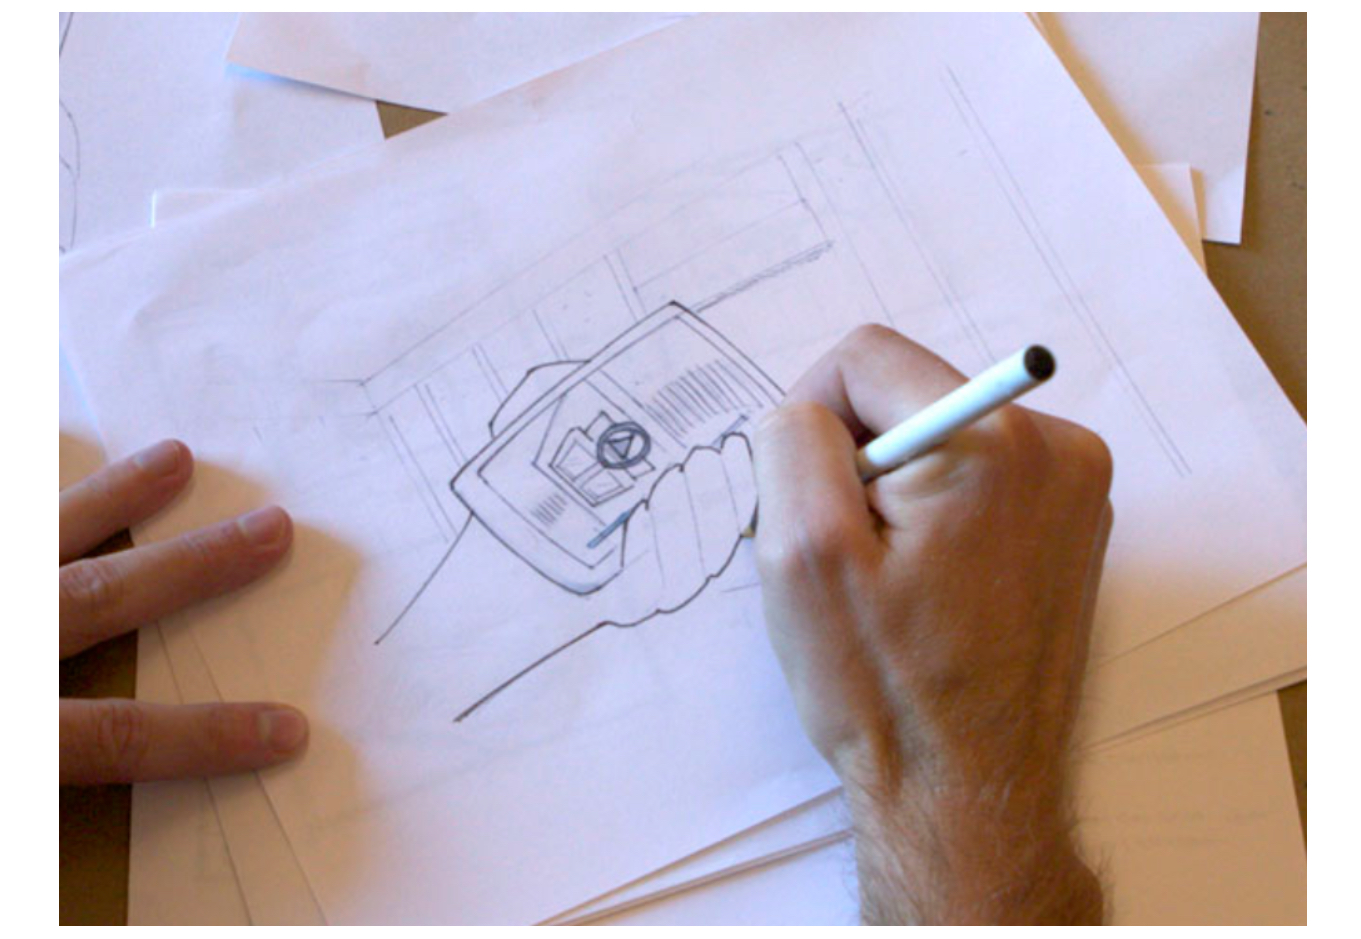
When you sketch, draw the application in the context in which it will be used, such as the mobile device the screen comes on or the monitor of the desktop computer. This doesn’t mean you have to do it every time. But a few sketches with the context of the screen surrounding it can go a long way, especially with mobile devices.
Providing context will force you to think about the environment your screens will be used in and help you understand the particular challenges of the problem. For example, if you’re designing an app for a mobile device, you need to deal with how your users may be holding it, which will make you think about your design differently.
Worst case scenario, if you don’t feel you can sketch well enough to provide the context of the environment, take a picture and use it as an underlay instead.
5. Get feedback
While it may be difficult to do it, especially when you’re just starting out, you should be sure to share your sketches with your team and any stakeholders on the project. You can caveat it with the fact that your sketches aren’t meant to be the final draft of the work. It’s simply there to get a baseline idea of whether or not you’re meeting all the needs and desires you should be. In addition, getting feedback at this early stage promotes a collaborative design process, setting you up for more collaboration at further stages.
6. Use templates
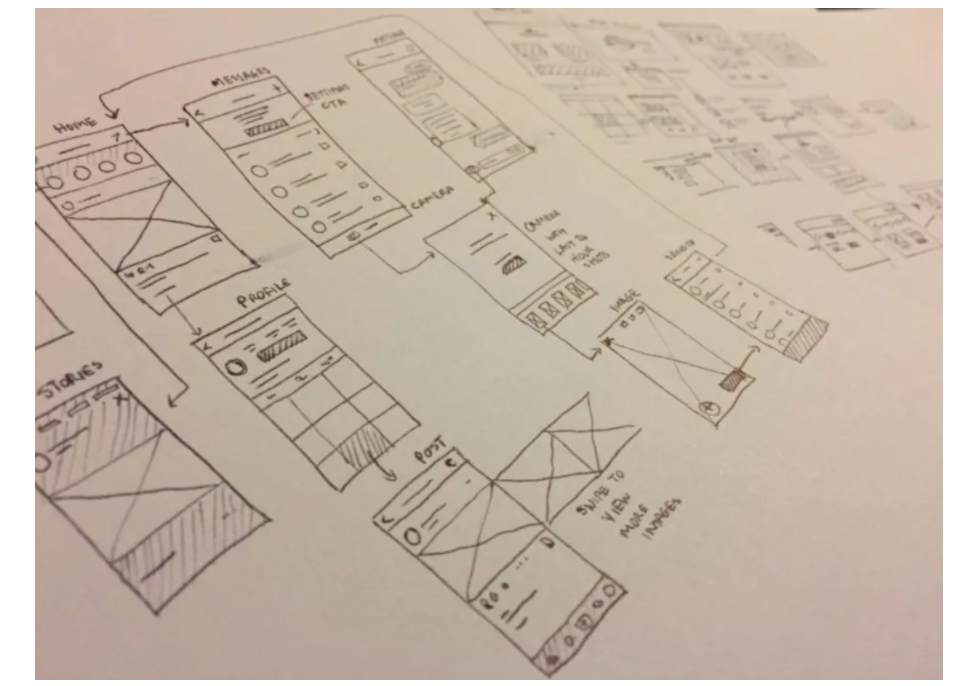
To make sure the sketching process is focused on design ideas, not structure, use sketch templates. This will include things like buttons or user flow symbols. Not only will it guarantee that certain commonly used symbols will be consistent no matter who’s sketching, but it’ll also free up time to focus on what matters.
Perhaps this would have been easier with templates! Ux&You
The takeaway
Product design sketching is the first step in bringing your solution to life on paper. It doesn’t need the polish of final deliverables; instead, these rough sketches allow you to explore multiple ideas quickly and efficiently. While it can be tempting to just get into wireframing, especially if you’re new to sketching, you can’t see all possible ideas like you can with sketching, and it pays dividends when you know you’ve gone with the best one for wireframing.
Learn more about product design
If you’re serious about a career in product design, UX Design Institute’s Product Design (UX/UI) Programme could be the right choice for you.
Or if you’re not quite sure yet if a product design career is right, you can learn more by reading more on this blog, with posts including What is product design? and What does a product designer (UX/UI) do?

